
You are standing in a showroom holding four tile samples that all look fine under the lighting, and the person helping you has just used the word “statement” for the third time. Nothing about that tells you which tile will still look good after two years of frying onions behind it.
Here is the short answer. For most Australian homes, glazed ceramic and porcelain are the best tiles for a kitchen splashback. Both resist water and cooking oil, both are easy to clean, and both come in a variety of colours and finishes wide enough to suit any style. Glass and stone are worth a look for specific effects, though each carries a maintenance cost the showroom is unlikely to raise with you.
The rest of this guide works through your tile options side by side, the finish and size design decisions that matter more than most people expect, what the job actually costs in Sydney, and the installation details that decide whether it still looks sharp in fifteen years. We have installed a lot of these, so most of what follows comes from watching which ones age well and which ones do not. If you want to talk through your own space, our tiling services Sydney wide cover the lot.
What Makes The Best Kitchen Splashback Tile
A splashback has one functional job and one visual job. Functionally it has to protect walls from cooking splatter, and it is protecting your walls from water damage and steam at the same time. Visually it occupies a band of wall at eye level in the room your guests spend the most time in, which is why people agonise over the tile choice.
The functional side narrows the field faster than most people realise. You want a moisture-resistant tile so nothing soaks in. You want a glaze or a surface that releases oil under a normal spray and wipe. You want the tile to cope with heat if it sits behind the stove. And you want to think about how many grout lines you are creating, because grout is almost always the part that fails first.
What you can ignore is slip resistance. Every other tiled surface in a house is chosen partly on grip, which makes people assume the same logic applies here. It does not. Nothing walks on a splashback, so the whole selection flips to stain resistance and cleanability. That single difference is why a tile that would be poor on a bathroom floor can be an excellent one on this wall.
One technical point catches people out. Floor tiles can be used on a wall, but wall tiles cannot go on a floor because a wall tile is often thinner and less dense, given it never takes a load. If you have fallen for a wall tile and want to run it across the floor as well, that will not work.
Splashback Tiles Compared: Your Main Tile Options
Tile Type | Water Absorption | Best Suited To | Supply Cost Per M2 | What To Watch |
Glazed ceramic | Low, the glaze does the work | Standard 600mm runs, decorative looks | $25 to $60 | Softer body, chips show the pale biscuit underneath |
Porcelain tile | Under 0.5% | Full height, large format, heavy cooking | $40 to $120 | Harder to cut cleanly, needs a skilled hand on mitres |
Glass mosaic | Nil | Feature panels, reflected light in dark rooms | $80 to $200 | Every trowel line shows through, unforgiving of poor prep |
Natural stone | High, needs sealing | Marble and limestone looks | $60 to $180 | Etches on contact with lemon, vinegar and wine |
Handmade ceramics | Varies by maker | Textured, artisan looks | $90 to $250 | Sizes vary sheet to sheet, wastage runs high |
Large slab | Under 0.5% | Grout free full height, benchtop continuity | Priced per slab | Needs a flat wall and specialist handling |
Read that table with one thing in mind. This area is small. Most are between 2 and 4 square metres, which means the difference between a $40 tile and a $110 tile might be two or three hundred dollars across the whole job. People routinely spend weeks trying to save money on the tile and then accept a quote from an installer who will make a mess of the cuts. That trade is backwards.
There is also a regulatory change worth knowing about if you are looking at slab. Engineered stone containing 1 per cent or more crystalline silica is banned in Australia for manufacture, supply, processing and installation. That ban has pushed a lot of the full-height market toward sintered stone and porcelain slab instead. If a supplier is still quoting engineered stone for this application, ask questions.
The materials that give people the most trouble long-term are marble and limestone. Both look superb on the day, and both are calcium carbonate, which means a splash of lemon juice or a spill of red wine left overnight will leave a dull etch mark. Sealing slows absorption but does nothing about etching. Plenty of people accept this and like the patina. Plenty of others call us two years later asking what went wrong.
Is ceramic or porcelain the better choice for a tiled splashback?

For a standard splashback, the honest answer is that it barely matters, and anyone telling you one tile is categorically better is selling that tile.
Ceramic and porcelain tiles differ mainly in density and water absorption. That matters enormously on a floor, on a balcony, or anywhere the tile takes a load or freezes. On a vertical surface inside a heated house, protected by a glaze, with nothing walking on it, most of that advantage sits unused. Where the denser tile earns its cost is on full-height installations, on large format, and where you want rectified edges so the tiler can pull the joints in to 2 mm..
Ceramic tiles offer a wider decorative range, particularly for crackle finishes, handmade looks and anything with real colour depth. They also cut faster and cleaner, which is far from trivial when your wall has four power points, a window return and a rangehood cutout in it. Every one of those is time, and time is what you are paying for.
Our position after two decades of installing both, whether you go porcelain or ceramic, is to choose tiles you actually want to look at every morning. If that turns out to be the cheaper tile, you have compromised nothing on a wall. If you are going for full height or slab, specify the denser one. We have gone through the differences properly in our guide to ceramic vs porcelain wall tiles.
Matte Or Glossy: Finish, Style And Practicality
A glossy tile bounces light around, which helps in a narrow galley or anywhere the natural light is poor. Gloss also cleans faster than anything else, because there is no texture for oil to sit in. The downside is that it shows everything. Fingerprints, water spots, and every undulation in the wall behind it.
Matte has taken over in the last few years and reads as more current, particularly alongside the warm palettes people are choosing now. It hides water marks well. But there is a trap: some matte finishes are micro-textured rather than genuinely smooth, and that texture holds an oily film behind a cooktop that a normal spray will not shift. You end up needing a degreaser every few weeks. Feel the tile sample rather than only looking at it.
Satin sits between the two and is underused in Australian homes. It has enough sheen to lift the light without the fingerprint problem, and it is smooth enough to wipe down properly. If you want splashback tiles that combine an easy wipe down with a contemporary look, satin is the safest choice for kitchen walls.
One rule to work from: gloss or satin directly behind the stove where the splatter lands and whatever you like elsewhere. What decides this more than anything is your lighting. Under-cabinet LED strips throw light across the tile at a very shallow angle, and at that angle a high-gloss finish will show every imperfection in the plasterboard behind it. That is a practicality question rather than a style one.
Kitchen Splashback Tile Ideas By Size And Layout
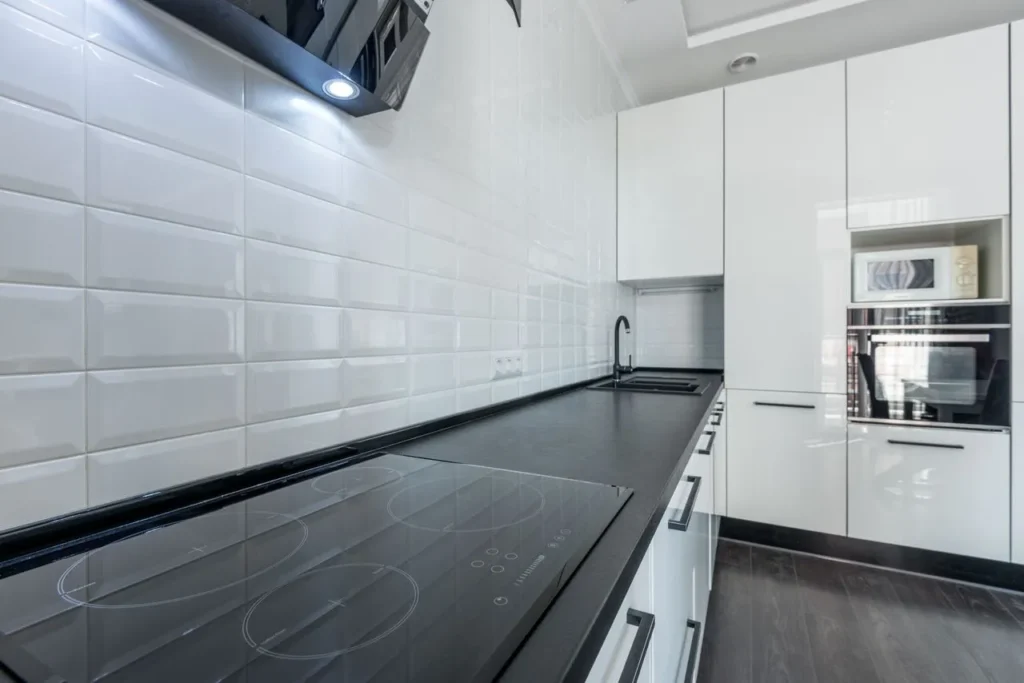
Subway and rectangular formats
The standard 75×300 and 100×300 subway tiles are still the most installed format in Australia, and the 100×400 version reads as more current without straying far. The layout does more work than the tile here. A half offset bond looks traditional, a stack bond looks contemporary, and vertical stacking is the cheapest way to modernise white subway tiles without changing them at all. Herringbone costs more in labour and wastage but transforms a plain subway tile completely.
Square and small format
100×100 and 50×50 squares have come back strongly, usually in handmade glazes where the variation between each tile is the whole point. These suit rooms with some character and add a genuine handmade touch to your kitchen. In a very minimal space they can read as busy.
Mosaic and penny round
More grout, more texture, more cleaning. Mosaic tiles work best as a defined feature, behind the cooktop or on one wall, rather than wrapped around the entire room. Sheet mosaic also needs a very flat substrate because the sheets follow whatever is behind them.
Large format and slab
600×600 and up, or a single slab with no joints at all. This is the cleanest look available and the least forgiving. Any bow or step in the wall shows immediately, so the wall almost always needs preparation first. Cutting is slower, offcuts cannot be reused, and your wastage allowance should be 15 per cent rather than the usual 10.
The rule tying these kitchen splashback tile ideas together is scale. Small rooms carry small-format detail without feeling cluttered. Large open-plan rooms usually need a bigger tile, or the wall starts to look like a mosaic panel you have to walk past. If the whole room is being reworked, our kitchen renovations Sydney team can plan tile scale against the cabinetry and benchtop from the start, which is much easier than retrofitting the decision later.
Splashback Ideas And Trends For 2026
The direction this year is texture instead of pattern. Handmade looks, Zellige and fluted profiles have taken over from the printed patterned tiles and bold colours of a few years ago. Textured tiles read as considered without dating as fast as a pattern does.
Full-height splashbacks have gone mainstream. Rather than stopping at the underside of the overheads, the tile runs to the ceiling, usually behind a feature rangehood or above open shelving. In a small room it makes the ceiling feel higher. It also costs noticeably more, because you are roughly doubling the area and adding a difficult cut line at the top.
On colour, the cool greys and stark whites that dominated the last decade are giving way to warm neutral tones. Sage, terracotta, clay, mushroom and sand are all doing well. Deep navy and forest green work as a feature behind pale cabinetry, and bold tiles have become acceptable again in kitchen design after years of white or neutral tones being the default. The matched everything look, where wall and benchtop and cabinetry all sit in the same shade, is on the way out in favour of deliberate contrast.
Two other notes. Material continuity, where the same slab runs across the benchtop and up the wall, has become the premium finish in modern kitchens. And plain white subway in a half-offset bond, while still perfectly acceptable and genuinely timeless, now reads as the default rather than a decision.
One piece of advice on all of this. Your splashback will be there for fifteen years. The trend will last three. Anchor the permanent surface in something you will still like when it is no longer fashionable, and take your risks on the things you can swap out.
What Splashback Tiles Cost In Sydney
Cost Component | Typical Range | Notes |
Tile supply | $25 to $250 per m2 | See the comparison table above |
Tiling labour | $70 to $140 per m2 | Higher than floor rates because of cut density |
Removing the existing tile | $25 to $50 per m2 | Plus making good the wall underneath |
Wall levelling or rendering | $15 to $40 per m2 | Almost always needed in homes over 20 years old |
Epoxy grout upgrade | $15 to $30 per m2 | Worth it behind a cooktop |
Trims, silicone and consumables | $80 to $250 per job | Varies with the number of external corners |
Three things move the price more than the tile does. The first is that the area is small enough for minimums to apply, so 2.5 square metres rarely costs proportionally less than 4. Half a day is half a day.
The second is cut complexity. Every power point, every window return, every external corner and every range hood cutout adds time. A plain run between two cabinets is quick. The same run with six power points, a window and a mitred return corner is not. Mosaic and small formats multiply this, because you are cutting sheets as well as each individual tile.
The third is what sits behind the wall lining. Older homes routinely reveal damaged, uneven or patched substrates once the original tile comes off, and large format is completely unforgiving of it. Labour rates also vary across the city, with the eastern suburbs and lower north shore running above the metropolitan average. If you are in that part of Sydney, our tiler Bellevue Hill team will quote a fixed price after seeing the wall instead of a rate per square metre that moves once the job starts.
How To Keep Your Splashback Tiles Clean
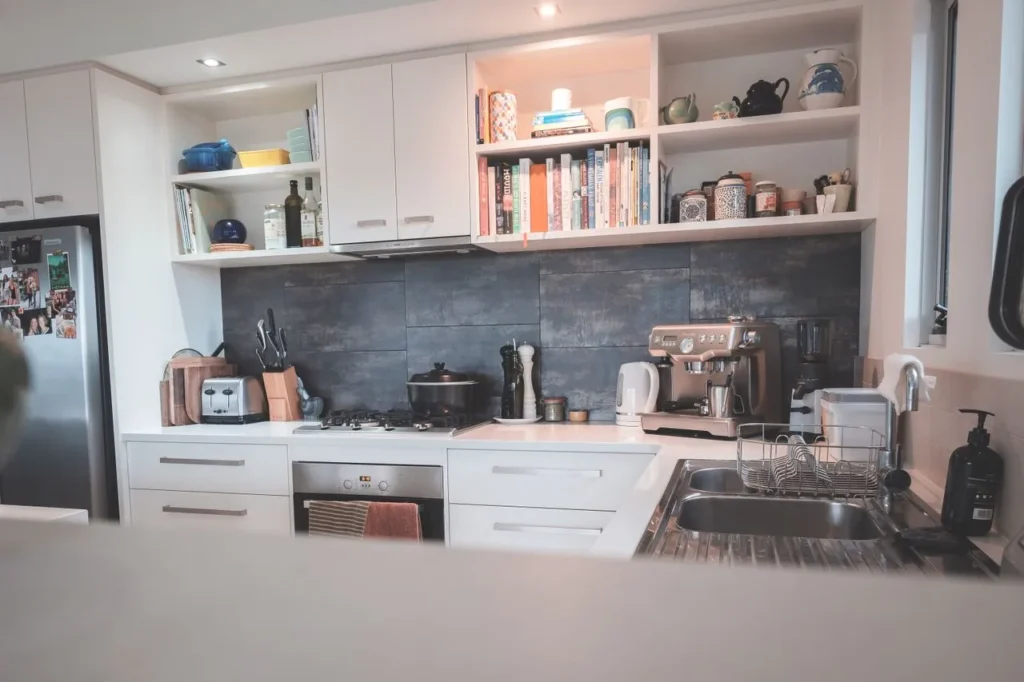
Most of the work is routine. Warm water and a mild detergent on a soft sponge, done after cooking rather than at the end of the week, will handle almost everything a domestic cooktop throws at a wall. Oil that sits for days oxidises and gets much harder to shift, so frequency beats effort. Wiping splashes and spills down while the pan is still cooling is the single habit that keeps kitchen tiles looking new.
Avoid anything acidic on stone, including the citrus-based sprays most people keep under the sink. On a glazed tile you have far more latitude, though abrasive creams will dull a gloss surface over time and scratch it under raking light. Steer clear of scourers entirely.
Grout is the part that needs attention. Cement is porous, so cooking oil goes into it and darkens it, and once that has happened, cleaning will not bring it back. Sealing helps if you do it annually. Epoxy does not need sealing at all, which is why we push it behind cooktops. If you want to keep your splashback tiles looking close to new for a decade, that specification matters more than the cleaning routine.
Stone needs resealing every one to two years in a working space. Put a reminder in your phone, because nobody remembers otherwise, and the first sign you have missed it is usually one of those stains and spills you cannot lift.
Splashback Tile Mistakes That Cost You Later
We get called to fix these constantly, and almost all of them trace back to decisions made at the quoting stage.
White or pale grey grout behind a cooktop. It will discolour, usually within the first year, and no amount of scrubbing brings it back. Pick a mid-tone that works with the tile.
Standard cement grout in the cooking zone. It is porous, and cooking oil goes straight into it. Epoxy costs more and is harder to apply, and behind a cooktop it is the right call almost every time. We have written up the full comparison in epoxy grout vs cement grout.
Tiling before the benchtop is in. The tile has to land neatly onto the benchtop, and if the benchtop arrives afterwards, you get a gap, an awkward scribe, or a strip of silicone doing work it should not have to do.
No movement joint at the benchtop junction. Cabinetry moves and benchtops move, and if the tile is grouted hard down onto the bench, that joint will crack. It needs colour-matched silicone.
Ignoring heat clearance behind a gas cooktop. There are minimum clearances between a burner and combustible surfaces, and they apply to what is behind the wall lining as well as the tile you can see.
Choosing a heavily textured tile behind the burners. It looks superb in the showroom and becomes a permanent oil trap the first time you sear something.
Sealing stone once and never again. Sealer is a consumable, and marble will still etch regardless of how diligent you are.
Set out the plan from the corner instead of from the eye. If nobody plans the layout, you end up with a 15mm sliver of cut tile in the most visible position in the room. Older properties are particularly bad for this because the walls are rarely square, which is why we measure the full run before anything goes up. Our tiler Double Bay crew works on a lot of period terraces, and it is the first thing we check.
How Decore Tiling Approaches A Tiled Splashback
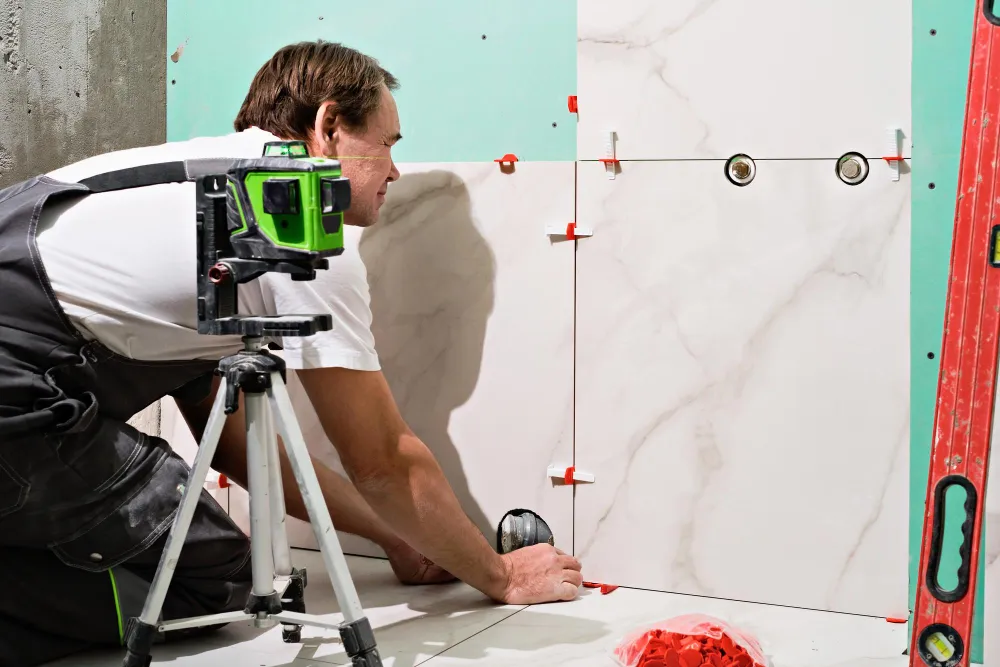
We work to a fixed sequence, and we do not vary it. Benchtop templated and installed first. Wall checked for plumb, level and damage. Substrate made good or rendered where it needs it. Only then does the set out get planned and the first tile go up. Skipping any of those steps is how these jobs end up with visible gaps and wandering joints.
Set out is where the craft actually lives. This wall sits at eye level in the most looked-at room in the house, so we plan the layout from the visible centre line instead of whichever corner happens to be closest. Cuts get pushed to the ends where cabinetry hides them. Each full tile lands where your eye lands. Where possible, we line the joints up with the cooktop centre or the window mullion, because a joint that lines up with something reads as deliberate and one that does not reads as sloppy.
The details after that separate a good job from an average one. Mitred external corners instead of a metal trim where the design calls for it. Correct trim selection where it does not. Colour-matched silicone at every change of plane. Epoxy is offered as standard behind cooktops rather than sold as an upgrade after the fact.
Every quote we write for kitchen tiling Sydney lists the preparation scope, the adhesive and grout system by name, the trim and silicone details, and the wastage allowance. That way you can compare it properly against anyone else’s numbers instead of comparing two square metre rates that cover different work.
Get Your Kitchen Splashback Tiled By Sydney Specialists
This is a small area with a high failure rate. It is almost entirely edges, cutouts and junctions, which is exactly where inexperience shows. It is also the part of a renovation that gets underquoted most often and regretted most visibly.
What we bring is twenty years of Sydney work, honest advice about whether the tile you have fallen for suits the wall you actually have, proper substrate preparation before anything goes up, and a finish that survives daily cooking long after the handover photographs are taken. We are licensed, insured, and happy to be one of three quotes you get. As tiling contractors Sydney homeowners have used since 2004, we would rather you compared us properly than took our word for it.
Here is how it works. We come out and look at the space, talk through the tile if you have not locked it in, and send a written quote with every inclusion listed line by line. If you are happy, we book a window and stick to it. Most of these jobs are done in a day, sometimes two if the wall needs work first.
- Licensed NSW tilers, fully insured
- Installation compliant with Australian Standards
- Honest tile recommendations across every price point
- Benchtops and floors protected, site left clean daily
- Workmanship you can inspect before you pay the balance
Frequently Asked Questions
What kind of tile is best for a kitchen backsplash?
Glazed ceramic and porcelain are the best all-round choices for an Australian home. Both handle water, steam and cooking oil, and both wipe clean easily. Backsplash tiles in a glazed finish suit decorative and standard-height runs, while the denser tile is better for full height or large-format work. ‘Backsplash’ is simply the American word for the same thing.
Is ceramic or porcelain tile better for kitchen splashbacks?
For a standard run the practical difference is small, because a wall takes no load and both are protected by a glaze. Go denser for full height, large format and rectified edges. The cheaper tile gives you a wider decorative range and cuts more cleanly around power points.
Should kitchen backsplash tiles be matte or glossy?
A glossy tile reflects light and cleans fastest, which suits darker or narrower rooms. Matte hides water spots and reads as more current, though some matte finishes hold an oily film behind a cooktop. Satin is the practical middle ground.
What is the latest trend for splashbacks?
Texture has replaced pattern. Handmade looks, Zellige and fluted profiles are the strongest formats, warm neutrals have replaced cool greys, and full height runs to the ceiling have become common in Australian renovations.
How high should a splashback be?
The standard is 600mm from the benchtop to the underside of the overhead cabinets. Full height runs all the way to the ceiling and is increasingly popular behind rangehoods and above open shelving. Finish at a cabinet line or a window line instead of an arbitrary measurement.
Do you need to waterproof behind a splashback?
Kitchens are not classified as wet areas the way bathrooms are, so full waterproofing is generally not required. Sealing around the sink and at the benchtop junction still matters, and any wall showing existing moisture damage needs fixing before work starts.
Can you tile over an existing splashback?
Sometimes. The existing tile needs to be sound, level and firmly bonded, with no hollow spots or movement. The added thickness also has to work with your power points and cabinetry. We check the substrate before recommending it either way.
What grout colour is best?
A mid tone sitting close to the tile colour is safest in a cooking zone. White and very pale greys discolour behind a cooktop and cannot be recovered. Very dark grout against a pale tile looks sharp initially but shows every imperfection in the joint width.
How long does the job take?
Most are a one day job. Add a day if the existing tile has to come off, if the wall needs levelling or rendering, or if you are using mosaic or large format that needs more preparation and slower cutting.
Is a glass splashback better than tiling?
Glass gives you a grout free surface in a custom colour and wipes down easily, though it shows fingerprints, needs a specialist glazier, and a chip means replacing the whole panel instead of one tile. Tiling is more repairable and gives you far more choice. If you are browsing splashback tiles online, order physical samples before deciding, because screen colour is unreliable.